I think of artwork as the sprinkles on a cake. They add the special flare, the beauty, and the personality to a home.
Mmmm, now I really want cake too. 🙂 Anyways…
As I’ve been making this little apartment of mine home, I’ve been a little gun shy to put holes in the wall. I’ve gotten around it by hanging giant engineering prints with painters tape, making glitter hexagon artwork hung with command strips, and even hanging my “Be Bold” statement with command strips.
However, when it comes to beautifully framed and heavier pieces of artwork, I’m not trusting command hooks at this point. I can just picture the artwork crashing down and shattering. Yikes!
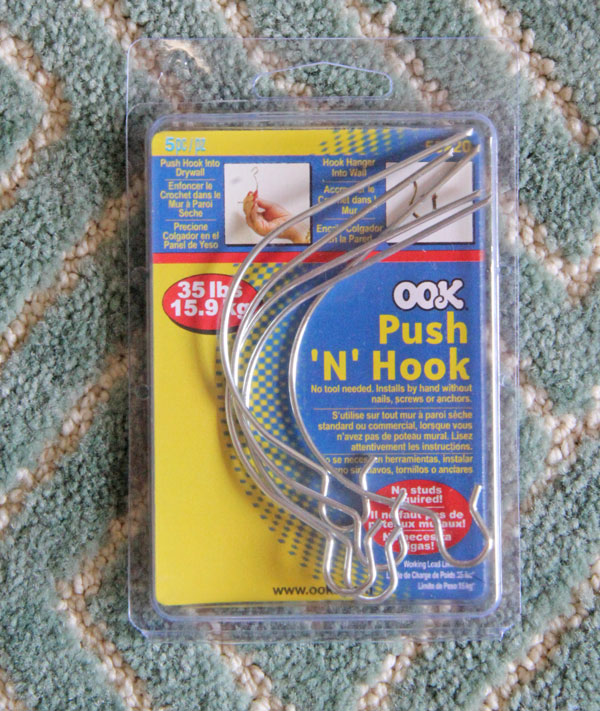
Then I came across this hanging tool that is my new love (whether I rent or own)!. It is the Push N Hook.


Basically it is a strong wire with a hook. All you do is:
- Mark where you want to place it in the wall.
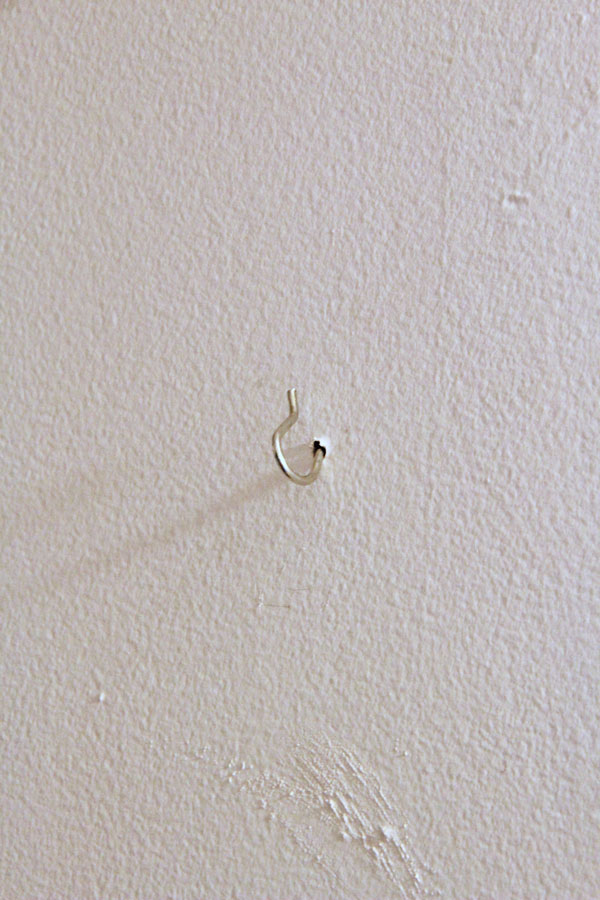
- Use the pointed end to easily poke through the drywall.
- Then twist it into the drywall until only the hook is left.
- Hang your picture.
Amazing, right? No anchors needed!
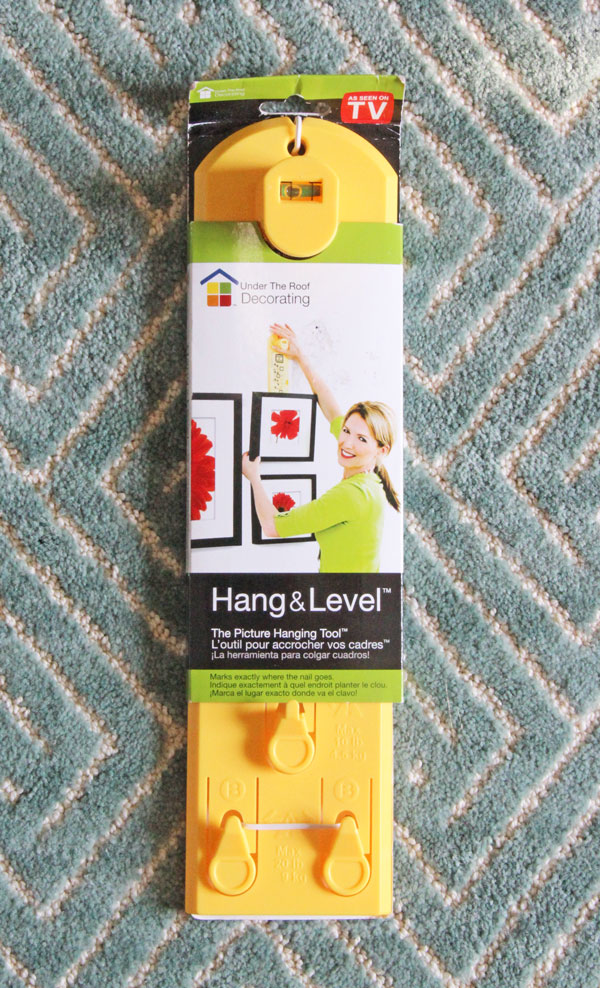
The second tool that has come to my “I can’t afford to poke a million holes in the wall until my picture is placed correctly” rescue is the Hang and Level Picture Hanging Tool.

This one is so easy to use and awesome! Here’s how you use this one:
- Hang picture on the yellow hook.
- Find the perfect placement on the wall.
- Take picture off hook.
- Press button to leave a small indentation on the wall.
- Then use the hook above to hang the picture!
Makes it perfect – and a one hole job – every time!

I also put together a short video for you to see how easy it is to hang pictures using this two step method!
Now, let’s talk about the beauty of the artwork, ok?? I’m SO excited to find unique pieces of artwork and photography that really speak to my soul and make me so happy every time I look at them.
The one in the bathroom is an abstract sky print (at least that is what I see) from Minted. If you know me, you know I love everything blue (ok, ok and green). When I saw this print I immediately knew this was the perfect piece to go in my bathroom. Doesn’t it look awesome with the shower curtain??


Now this special beauty in the living room is a photograph by Irene Suchocki. I actually won a credit to Irene’s store in a contest on the blog Decor8. I saw this hot air balloon in Paris print and knew it would be perfect for my living room. I love the balloons, the colors, and well, Paris, of course! Perfectly perfect in every way.


I can’t tell you how many times I just stop and stare at the art/photo in my place. It really brings my apartment to the next level. Plus, it’s nice to know that when I leave I just have a small hole to patch and be on my merry way.

Also, as another little bonus I hung my Ikea mirror in the studio. It’s such a sweet and happy little corner now.

Oh yes, remember when I said that artwork is the equivalent to cake and sprinkles in a home? Well I just ate some cake while looking at my new artwork. Yeah, that’s a double win right there. 😉
Affiliate links are included in this post for the convenience of the reader!


I have never heard of these two tools and I need them for the lake. Hanging pictures is such a chore and both of these will make it much easier.
Our walls are plaster which are a real pain for hanging anything. I’ve made some giant holes by accident when the plaster around the nail fell out as I was banging away. I’ve learned to put a piece of painter’s tape down on the plaster before nailing.
Great job on your video.
I highly recommend the tools. It makes it so much easier – especially as someone as impatient as me when it comes to hanging pictures!
Your plaster walls sound hard to hang things. Smart idea with the painter’s tape though! You should do a blog post about how to hang things in plaster walls. I bet a lot of people would find that helpful!
When pictures aren’t hung properly, it can cause damage to both the wall and the art itself! Having a go-to method for hanging them is so important. Finding a good one that works every time is key.
Such a good point, John! Thank you!