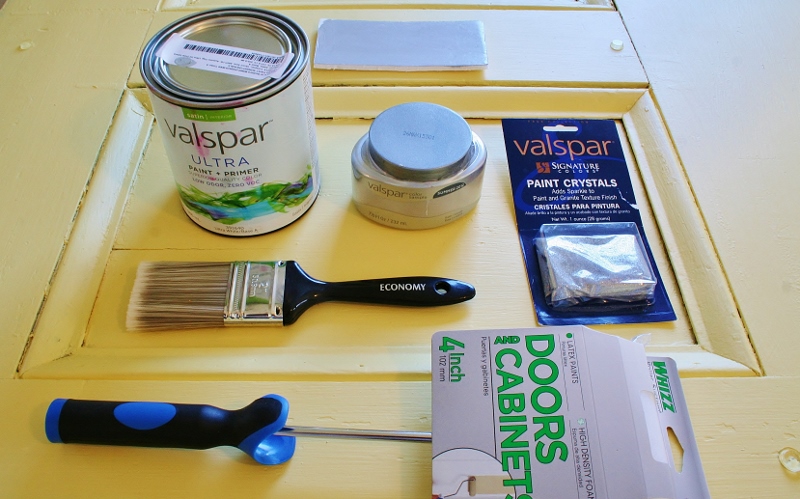
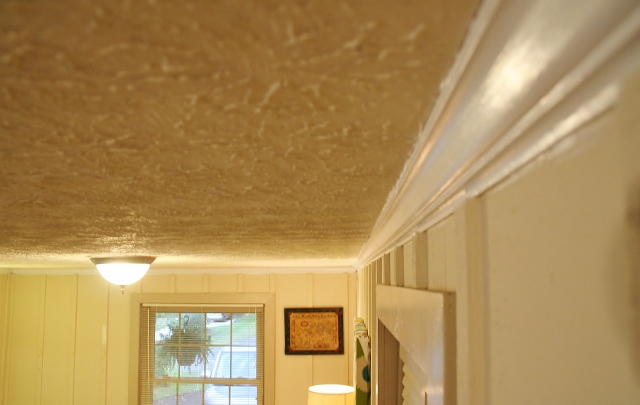
Right now I am in the middle of a painting project that you will just have to wait until the reveal post to check it out, but it got me thinking about painting walls in general. Oddly enough, when I moved into our home, I have never really painted a wall. Yes, I think I had perhaps been to a painting party when I was younger, but I myself had never set out to paint an entire wall in my life. So really, when I began by painting our master bedroom, I just went for it with no other thought than, “It can’t be that hard.” And it wasn’t, but you definitely learn a few tips and tricks as you go along. Now, it is comical to think about that only a few years ago, painting walls was something foreign to me. I’ve painted almost every single wall (and some ceilings) in our house. So, from me to you, a few painting tricks that work for me. So maybe it will help you! And feel free to share your own, since we all have our own style.
Prep, prep, prep!
- Clean all the surfaces: Get out that rag and wipe it all down. The base boards, the wall, the ceiling near the wall, and even the paint tray. It is amazing what can get stuck in paint.
- Paint trim first: If you need to paint trim, I find it easier to paint first. It is less taping since you don’t have to worry about painting on the walls. It doesn’t matter if you do!
- Spackle holes and sand: Make sure to take the time to cover all those holes you don’t need anymore. Then remember to sand them down lightly and clean up the mess. If you don’t, those holes are just magnified when the paint goes on.
- Tape it all: Take time to paint everything you need all at once. I don’t like taping so something I slack and do a wall at a time. It is easier to do it all at once.
- Unscrew everything you can. Just ask my painted door handles. Unscrew air vents, light switches, door knobs, etc. It is just much easier to unscrew things than to paint around them. Just look at some messy door knobs in my house.
- Use a drop cloth. Also, have a damp rag on hand for those pesky little drops that may happen.
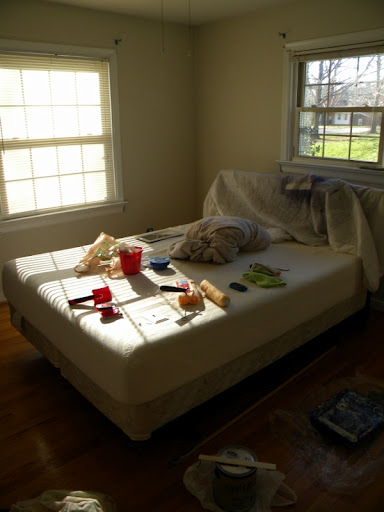
- Take the time to move things and cover things. The part about painting that I hate the most is moving all the stuff out of the room and making your house look like a mess. But it is worth it to preserve your items. I learned that the hard way. All it takes is paint on one item for you to move everything out of the room from thereon.
The Painting Procedure
- The edger tool saves my life. Some people use a brush but the edger tool enables me to love painting because cutting in makes me angry. You have to get the hang out of it, but once you do taping becomes minimal and you can fly across any straight edge. It seriously saves me some time.
- Invest in a good angled brush. Edging makes me less angry with this tool. Sometimes a brush is the only instrument that can fit in tight corners. I have bought my fair share of cheap brushes where the bristles fall out and get stuck on your wall. More expensive brushes (I’m talking $5-$10 brushes) with an angled edge will pretty much provide you with the perfect brush 99% of the time.
- Use enough paint. Get it on your roller. Not enough that it starts flying off of it, but there is nothing more frustrating than having to push down on that roller, trying to get paint off of it and onto the wall. So make sure to saturate the brush so you actually get paint on the wall.
- Always do two coats. Everything is moved anyways. You might as well and the difference in the look is tremendous. I don’t think the paint and primer in one really works at all. You seem to always need two coats.
The Finishing Touches
- Take painters tape off while paint is still wet. There are many blue edges stuck in paint around my house until I learned this trick. Visitors, thanks for ignoring them.
- Allow time to dry. I get anxious to put the room back together but really, you need to wait until everything is dry to allow your job not to be spoiled.
- Tell your spouse/roommate you painted things. I think Eric may have gotten a white hand print by accident. Then you both are mad. One of you has paint on your hand and the other has to repaint.
- Make a system to keep your paint organized. Whatever system you have, make sure you note somewhere what color paint, brand, finish the paint is used in each room. I am working on making mine more systematic, but right now I just write on the paint can what room is painted what color.
- Clean brushes and pans immediately. Soaking brushes in water for lengths of time causes rust and will ruin them. (Duh! But I did this). This will also help get as much paint off the brushes and rollers.
- Throw away rollers and brushes semi-frequently. I try to make things last too long (aka I’m cheap). It compromises the job. Use quality products and know when they need to be let go.
So there are some painting tips and tricks that I have picked up along the way. Perhaps there are some new ones for you and will help you in your next painting job. Stay tuned to see what our newly painted walls!


Painting is one of our favourite quick decor fixes. It’s such a reliable way to personalise a home, to add character, sophistication and depth to a space. It is easy to buy paint and rollers and get colour up on the walls but it is important to only do so after doing your research. Nice blog!