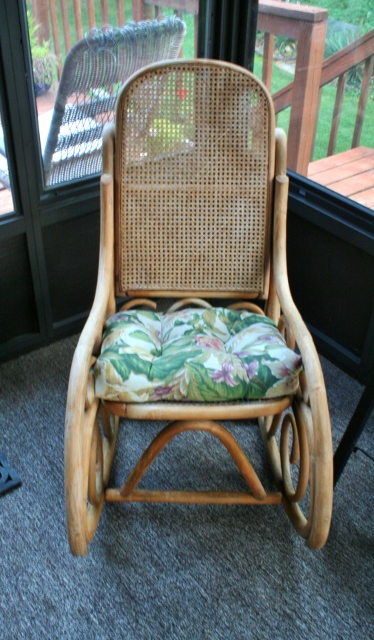
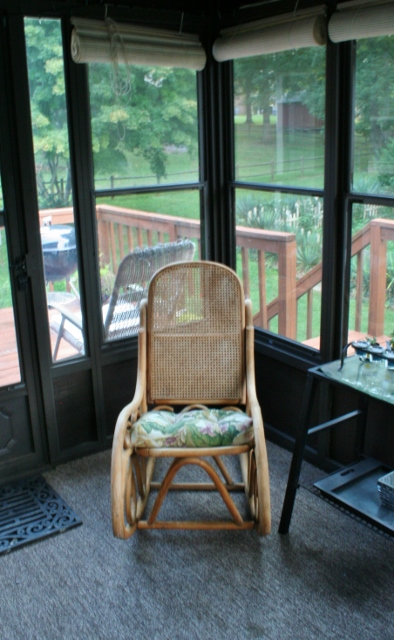
I have a hard time getting rid of anything that is still functional even if it isn’t the prettiest anymore (at least not to me). I think that’s why furniture painting is something that has always intrigued me. I love that it offers an option before the upholstery shop. It sounds a little scary, and I’m was more than a little dubious to attack a sofa with a paint brush so I decided to start small. Small as in this cushion for the rocking chair in the sun room.
The rocking chair itself is a family hand-me-down which I love. I think it’s great! Unfortunately it had a mishap at one point and the seat looks like it’s trying to flush you out of it.
A cushion was then purchased for it and this is how it came to me. The best solution would probably be to recane it (is that what repairing the seat is called?) but it’s so comfy with the cushion so I tried to just make a change to the cushion. I decided to paint it!
Here are the supplies I needed:
- Foam paint brush
- Paint (I used Valspar Duramax color matched with Pantone Emerald Green since I had it leftover from the emerald and gold table)
- Fabric Medium (purchased at a craft store)
- Measuring cups
- An empty glass container
- A spray bottle
The process is very simple. First, mix up your paint mixture. I used a 1:1:1 mixture of paint, fabric medium, and water. I mixed it in an old food glass container since I knew I would need it over the course of a few days as I coated (and recoated) the cushion.
Next, spray down the cushion with water. Then start painting the cushion in thin coats.
This takes many coats and patience, although it probably varies for each project. Mine had a darker pattern which is probably one of the hardest things to cover up. I can’t even tell you how many coats it took. It took a lot. I would wait at least an hour between coats. Sometimes more depending on my schedule.
Once it is sufficiently coated on both sides you really want to give it time to dry. Like a lot of time. Make sure this is dry before putting it on your furniture!
I love how it ties in the green table. I think it looks nice with the wooden rocker.
The cushion had a soft cotton feel to it before it got painted. It definitely feels coarser now, like an outdoor polyester fabric. That really doesn’t bother me since it is probably better this way for outdoor furniture. However, I wouldn’t want this for a comfy living room chair.
Now I know I am going to get questions about what I am going to do with the actual chair. The answer is nothing…for now. As I mentioned before it was given to me by family – meaning, I feel a lot worse about permanently changing it with something like paint. I would probably (although not definitely) paint it in a second if I had just scooped it up at a thrift store but this piece has to go through family approval. It has been approved for stain but I’m not sold. I actually like it light as is, so stain would just make it darker. Although perhaps a nice gray wash stain would look nice? See, I’m rambling off various ideas. So the chair stays as is…for now!
Just to finish off the post, here is the delightful before and after:


Sharing This Post Here:


A friend and fellow blogger painted an upholstered wingback chair the same way! It looks really good. I haven’t been brave enough to try fabric paint before, though.
Nice! A wingback chair! I don’t know if I’m ready to commit yet to larger upholstery with this method. I might try a few variations to try and get it softer first. But if it’s ugly, there’s not too much to lose!
[…] Painting a Chair Cushion (rappsodyinrooms.com) […]
[…] for your feet to lounge in either the super comfy loveseat or (purely accidental yet oh-so-perfect) matching bentwood rocker. Then, after reading this makeover at Vintage Revivals of the exact same type of bentwood […]
[…] enough the green in the napkins was the exact matching shade needed for the sun room rocking chair painted cushion. It even ties in the yellow in the room too. Now, I call this sun room finished (for 2013 at […]