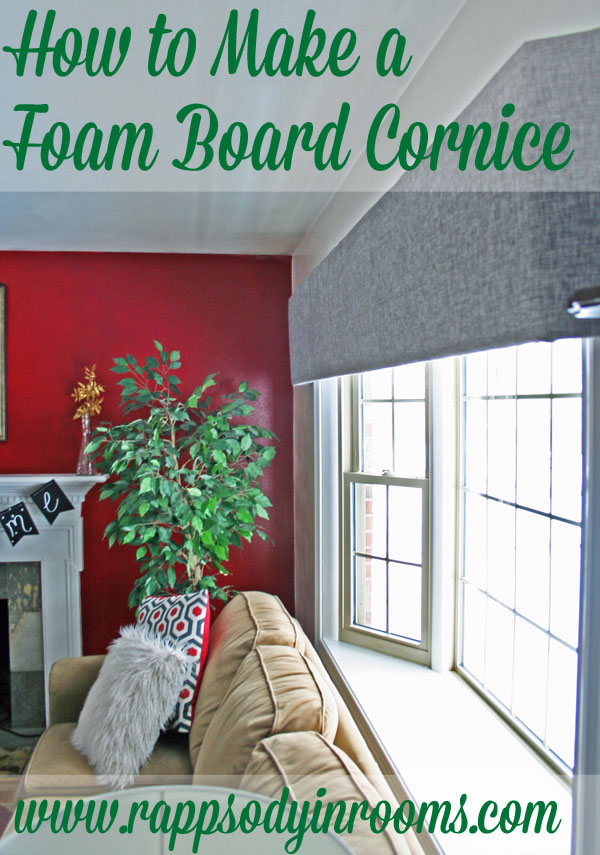
The following is a tutorial on how to make a foam board cornice. It’s a good tutorial and will work for most windows. However, this is also the tale of how my trial and error of making a foam board cornice made us realize that we did not like a cornice (or valance or anything above the window) for the living room.

Let’s start with the before.


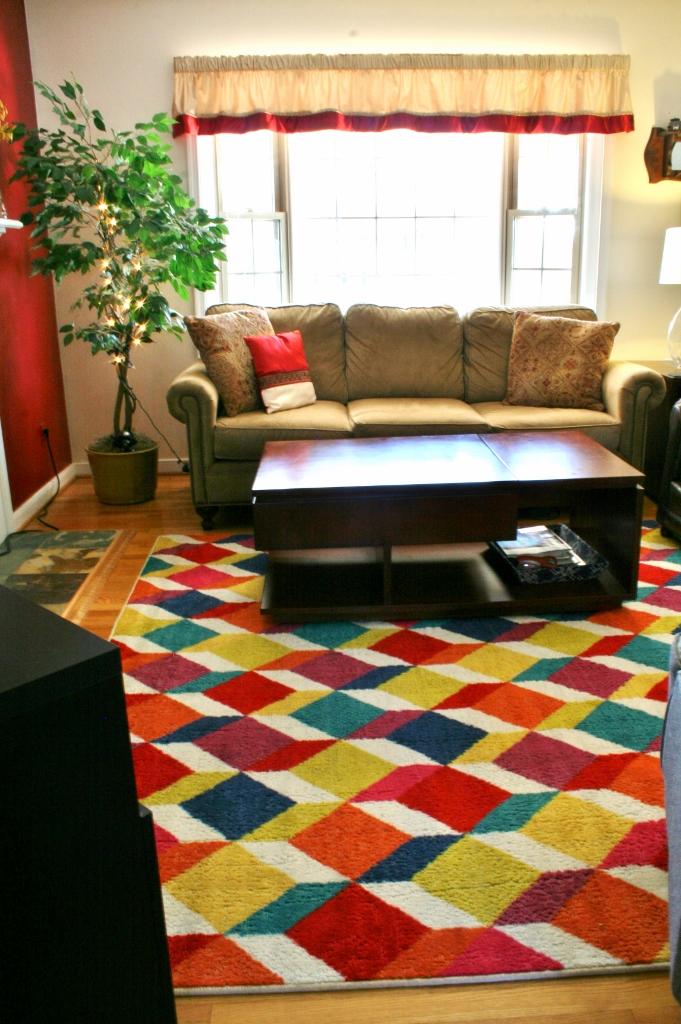
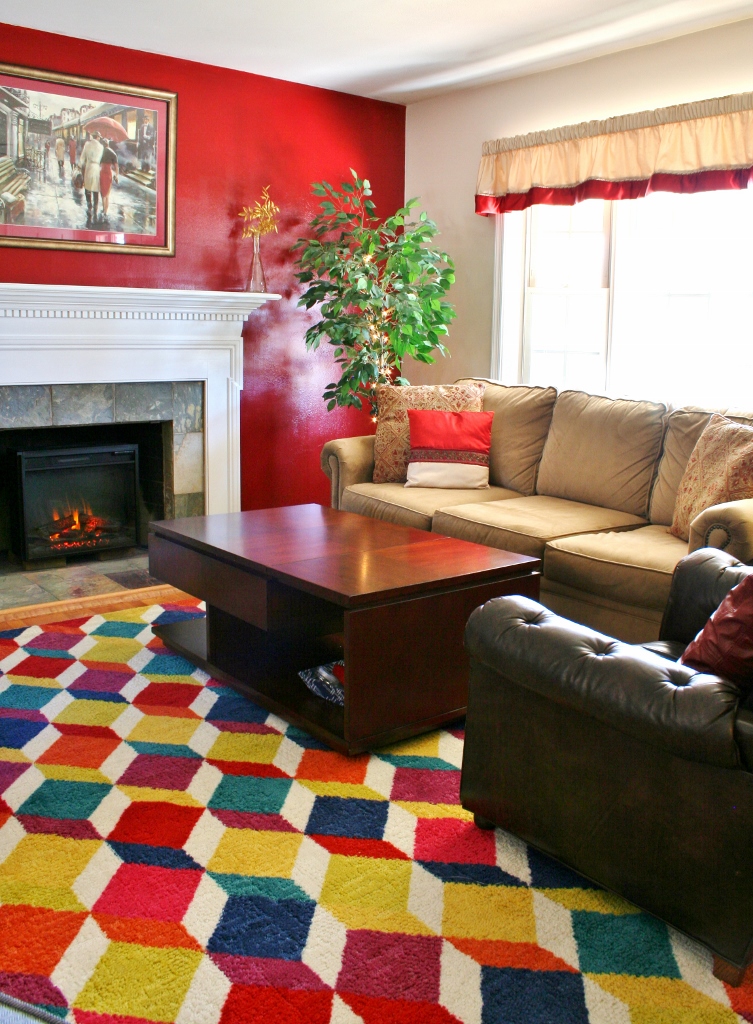
This is a curtain that my wonderful mother-in-law made. We picked out the fabric together and she sewed a beauty. However, my style changed, and therefore I wanted the curtain to change.
One weekend Eric and I took a road trip to Charlottesville and hit up the local U-Fab there. We found a gorgeous textured grey fabric that we wanted to use for making a foam board cornice.
One snow day a few weeks ago I set out to make one. Here is what I did.
Foam Board Cornice Tutorial
Materials Needed:
- Foam Board (the width of your window)
- Exacto Knife
- Duct Tape or Spray Adhesive
- Batting
- Fabric
- Picture Hanging Claws or Hooks and Nails
- Measuring Tape / Yardstick

Instructions
1. Measure the length of your window and add a foot to that. This is the length your cornice will be, including the side pieces (at 6 inches for each side). Buy the appropriate amount of foam board you will need (I found mine at the Dollar Tree and needed 5).

2. Figure out the width that you want the cornice to be. Cut out the length and width of foam board. I used an exacto knife and it cut like butter. Duct tape all the pieces together (if needed).

3. Make the corners of your cornice by carefully cutting in 6 inches on each side. Don’t cut the whole way through! Just cut enough to be able to bend it backward. I put a piece of duct tape on the back of the cut to reinforce it. You now have the frame of your cornice board.


4. Wrap a thin batting around the foam board frame. You can also just adhere it to the front with spray adhesive. Use duct tape or hot glue to adhere it to foam board. [Yes, mine looks very weird. It is because I used an old mattress pad that works just like batting. It looks colorful because it was used as a paint drop cloth prior to being batting for this project.]

5. Next, wrap the fabric around the batting. Adhere it to the foam board with adhesive or duct tape.


6. Hanging! The best way is to connect picture hanging hooks/claws and nails. Just glue the picture hanging hook/claw to the edges of the foam board.


As I was playing around with different ways to hang this I had it up and down. When it was up I thought it was beautiful and a great solution for a light weight cornice. However, when it was down for a while, Eric and I realized that we LOVED not having anything above the window (no matter how pretty it was). The living room is a darker room in the house and we embrace any natural light we can get. Even having a cornice slightly covering the window cut down on the natural light. So we decided to scrap this plan entirely. Wha whaaa.
It made for a good tutorial right?! I’m still glad I tried it!
Also, here are some other great sites where I gleaned information for doing this project:
Now we are on to Plan B to keep the natural light but offer some sort of window adornment and softness. I guess it just goes to show that decorating really is a trial and error sort of process with even the best laid plans. I still do encourage you to make a foam board cornice though! They are great and so easy to make (inexpensive too, depending on the fabric you choose).
Sharing This Post:


You make this project look so easy! With a good fabric price, one could update a room with several windows on a budget. Do you have a place that you can keep your cornice in case you change your mind about leaving it off of your windows?
It is easy Paula! Gotta love the possibilities of Dollar Tree foam board! Alas, this cornice has already been repurposed…yikes! I’m hoping to use the fabric somewhere else shortly!
Thanks for the info I had been wondering if this was possible.
So glad you found it helpful! It is so easy! I recommend it!
Megan this looks GREAT!!! ~Beth
Thank you so much Beth!
That is a fabulous DIY!!! Wow, I am totally impressed! Great job!!
Nancy
Thanks so much Nancy! It’s amazing how easy it was too!
I love this…i am going to do in my daughters room. I am unclear how to put on wall though. I am not very good with this…but willing to learn :). Thanks!
Hi Carol! I’m so glad you are going to do this! I think the best way to hang them is to glue the picture hangers with the triangle on it to the foam board. Then you can just put a nail on the wall and hook it on that. Or you can also put a top on the cornice and put it over a curtain rod. Let me know if you have any more questions!
Great idea. I was wondering, when wrapping batting and material around board, how about the 6″ on both sides that bend for the sides. It seems the batting and material would keep it from bending like it should. Please share how that works.
Hi Becky! It is still able to bend. However, if you would like to make it crisper you could always use separate pieces for the front and sides so the fabric isn’t actually bending around the corner. Or put the piece on all sides and then just cut a slit in the batting to help it bend easier. Hope this helps!
Foam board is great for smaller windows. Try using foam insulation if you need a wider span. Foam board is available in lots of widths and thicknesses. WORKS GREAT!
Awesome! Thank you!
Do you know where I could purchase the kit. They used to sell them at home depot. Thank you
The foam board cornice kit? I didn’t know they made one actually. It sounds neat though!
Joanns Fabric stores carry the cornice board kits.
Oh cool! I didn’t know that!Thank you!
You say put the picture hanging claws on the edges..you mean all around? How do you attach when it it is away from the wall the whole length.?
I mean on the edges that attach to the wall on the sides. That does sound confusing! Sorry about that!
It’s a great idea though I was looking for something else but I’ll do that instead of the thing I was planning. I still wonder how we can fold it without putting scotch tape.
Thank you Karen! As for folding it without the tape, you can! When you make your corner cuts don’t cut through the paper on one side. This will allow you to fold it but still have it connected. I just added tape to reinforce but it’s probably unnecessary.
Hi Megan,
I love your project! I really want to try this with my recently installed windows. I’m just a little confused about how to “hang” the cornice. I’m not sure what the “picture hooks/claws” look like. Can you maybe direct me to a place to find these or perhaps a photo? By the way your finished product looks fantastic!
Thanks,
Angela
Hi! Here are links to the ones I was talking about: sawtooth hangers http://amzn.to/22MYTnR and triangle hangers http://amzn.to/22MYWQm. Attach them to your cornice board and then hand them on a nail in the wall. Good luck on your project!
Did you need to anchor to wall in the center because it is so long? It doesn’t sag in the middle?
Mine doesn’t sag because I have it against an old, wide curtain rod. It was already on the window so I thought I might as well use it!
I love this project, thanks for the info. Can I ask you another question. ..I love your rug where were you able to find that at?
Thank you! I got the rug on Overstock! Good luck with the project!
I use toothpicks and soray gkue to attach the sides and a top piece. I do tape over the corners but ptobably not needed.
Nice! Great ideas!
Thank you so much! I have a very long window in my livingroom that I want a cornice for and wood would be too heavy. I never thought of foam board from the dollar store. How clever you are! I am going too start measuring and planning since now I can get my head around it. Thank you for sharing! 🙂
Oh good! I’m so glad you found this helpful. Have fun!
You may have liked it better if you had mounted it up at the ceiling. It would have made the ceiling feel higher and covered less of your window. That is how I do mine. Any window treatment mounted close to the ceiling makes the room feel higher.
Thanks for the advice!
Just curious how wide is your window and how high did you make the cornice? I am considering this project for a window that is 70″ wide but I’m afraid it will bow in the middle.
I am actually not sure how wide the window is, but I had an old curtain rod that I left up to help it from bowing. For a 70″ wide window I would think it probably would bow so you may need some extra support. The cornice was between 12″-18″ wide hing right at the top of my window.
Thank you for posting a creative tutorial. I have a question in regards to your paint colors!. I’ve painted my room three times and still not correct shade of red. Can you still remember what color red and white and brand?
Your room looks fantastic and friendly.