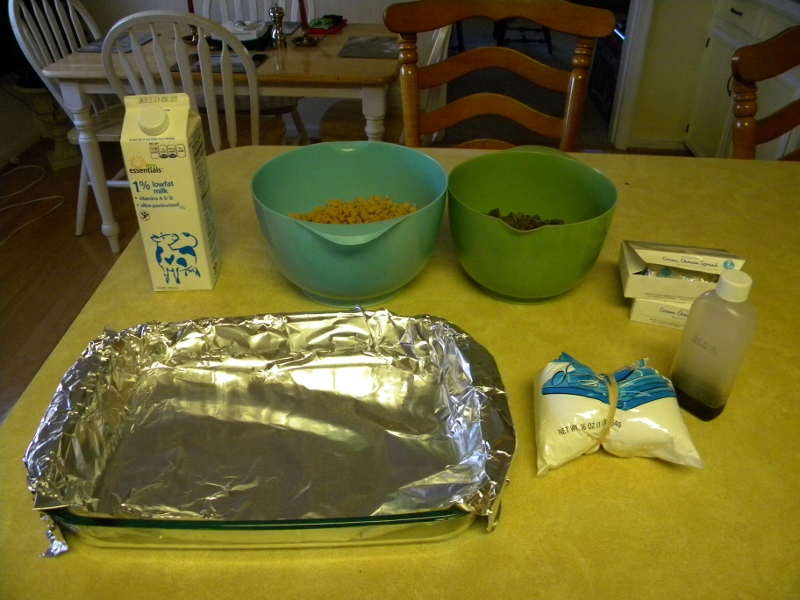
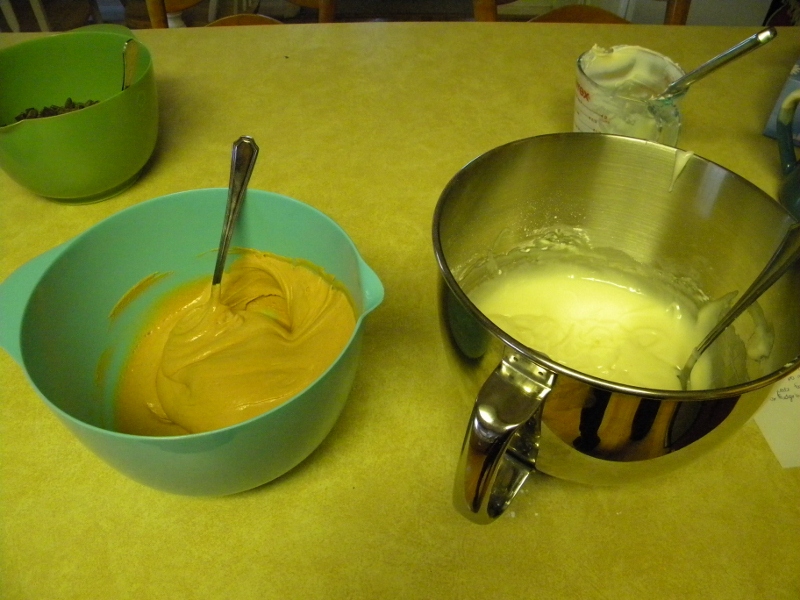
As you can probably guess that I love to bake – especially around the holidays! There are certain baked goods that I only make Thanksgiving through Christmas. One of them, that is also another family tradition, is our peanut butter chocolate fudge. Oh. My. Gosh. This fudge is incredible. That isn’t me bragging. It’s just a fact. I can’t really enjoy other fudge because it never measures up to this goodness. It always spawns another fond memory of my family (can you tell that I love my family?! With them spread out all over the country I like to surround myself with things that remind me of them, including food). I remember every Christmas my mom making pans and pans of this fudge and packaging it up in pretty Christmas tins and sending it as Christmas presents to all of our family. I like to continue spreading the fudge love! So when my work announced they would be holding their annual cookie and candy exchange I knew exactly what I was making!
Chocolate Peanut Butter Fudge
Ingredients:
- 2 bags semi-sweet chocolate chips
- 3 bags peanut butter chips
- 12 oz. cream cheese (room temperature)
- 5.5 confectioner’s sugar
- 4 T milk
- 1 t vanilla
Directions:
Line 14 x 10 pan with aluminum foil.
Melt chocolate in microwave and set aside. Make sure to heat in small increments and stir every time. It melts faster than you may think and it is easy to overheat and ruin!
In large bowl beat together softened cream cheese, sugar, milk, and vanilla.
In separate bowl melt peanut butter in microwave. Mix into peanut butter mixture immediately. The peanut butter is probably the trickiest part of this because it hardens VERY QUICKLY. So be quick about this!
Press half of peanut butter mixture into bottom of pan using wax paper.
Immediately cover remaining peanut butter mixture so it doesn’t dry out. I recommend using a wet dish towel with a plate placed on top of the bowl.
Spread melted chocolate over peanut butter mixture in pan.
Freeze until chocolate is hardened (usually 15 minutes plus).
Press remaining peanut butter mixture over chocolate using wax paper again. It’s done!
Cover and let sit for a while until cutting. Do NOT refrigerate or it will be too hard to cut and you may break a tooth trying to bite into the chocolate.
When you are ready to cut it, just lift the foil out of the pan and cut into very small squares. A little goes a looong way. Also, this can dry out quickly, so make sure to put in air tight container. Sometimes I even wrap it in plastic wrap before putting it into a container for extra protection.
A fun way to share these with friends is to put it in tins (with plastic wrap!) like I mentioned before or in a glass jar with ribbon for decorations. For those eco-friendly souls out there, this is a oyster jar cleaned thoroughly and ready to reuse!
Mmm mmm good! Enjoy this super rich dessert!


I remember when Katie and I ate an entire platter of these one year while decorating gingerbread houses. Hello stomach ache!