I love dessert. I also don’t consider it dessert unless it has chocolate. So when my friend Clelie and I decided to try and make this new phenomenon called cake pops for a work function (we used to work at the same place), a new chapter of my life opened up!
So what are cake pops? Well they are little chocolate balls of cake on a lollipop stick and dipped and chocolate. They also offer endless ways of decorating them to customize them to specific holidays and situations. Since we have begun to make these we have celebrated birthdays, childbirth, making cake pops for our own leaving work party (we left within weeks of each other and brought our own cake!), and holidays like Christmas that I will share with you today!
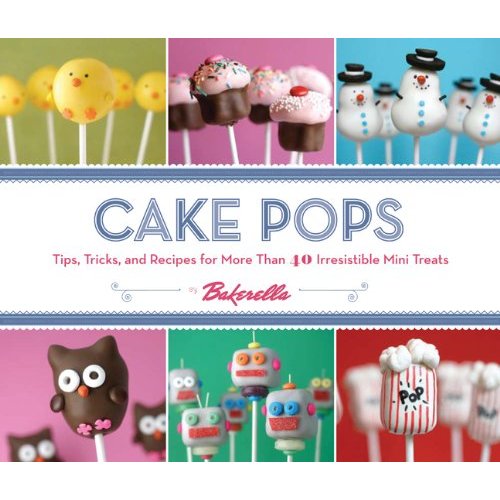
Clelie even bought this book to help us get started:

Cake pops are easy to make but are time consuming and require patience. We have found it easier to make the cake (or brownies in this post!) a few days before we decorate. So pick your favorite flavor of cake (we have used chocolate, red velvet, and brownie mix). Bake it like normal and let it cool. Then crumble it up with a fork. Add 3/4 can of your favorite icing (chocolate and white both work well). Stir the cake crumbles and icing together until it makes a malleable mixture – not too sticky but not too crumbly. Just right! Once you have this mixture use your hands to roll them into balls about 1 inch in diameter. Store these in a container in the refrigerator (not freezer or they will crack) until using them. It is important to keep them chilled until making them or your may lose them off the stick! (Oops! Forgot to take pictures of that part.)
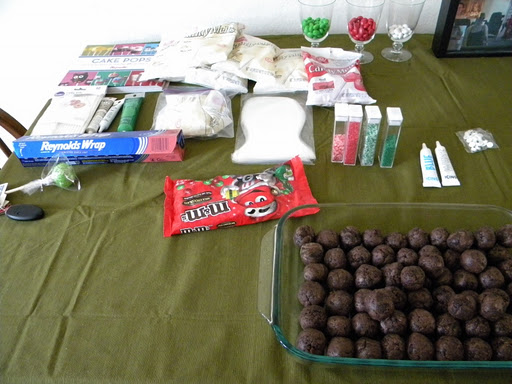
When you are ready to continue the process you will need to make sure that you have chocolate candy coating. They sell this in your local craft store in various colors. We have used dye to color the white chocolate but it changed the consistency of the chocolate and made it harder to use. I highly recommend using the colored chocolate. You will also need to have all the decoration supplies you may want, like colored sugar or sprinkles and colored gel to draw on them. Here are our supplies all ready to go:
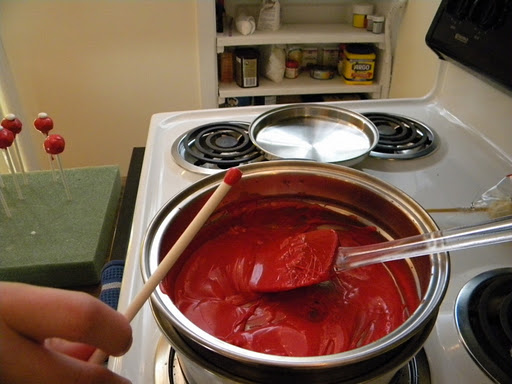
Now it is time to heat the chocolate. Chocolate is very easy to burn (see my fudge post for melting tips) so we used a double boiler and this worked great! If you don’t have one melt carefully in the microwave. Take one lollipop stick and dip it into the chocolate just a little bit. This helps it grip the pop.
Then stick it into the cake pop almost all the way through so it is on there firmly.
We also decided to just make some cake balls using white chocolate and holiday sprinkles. They are harder to photograph but still delicious and festive!
As this was a present for a friend, we decided to dress it up a little for delivery. So we used a jar, holiday M&M’s as filler, and a pretty bow to finish it! I think this may be the best batch ever!


I agree — this was the best batch of cake pops we've done so far! I believe there are many more to come… 🙂
[…] Just a few ways to describe those little delights called cake pops. Remember this post about holiday inspired cake pops? Remember how excited I was about showing you the result and didn’t show you the process? […]
[…] little shot of the bridal shower set-up (see the cake pop post here). PS – that is my veil from my wedding! I let my sister wear it (see it on the little about […]