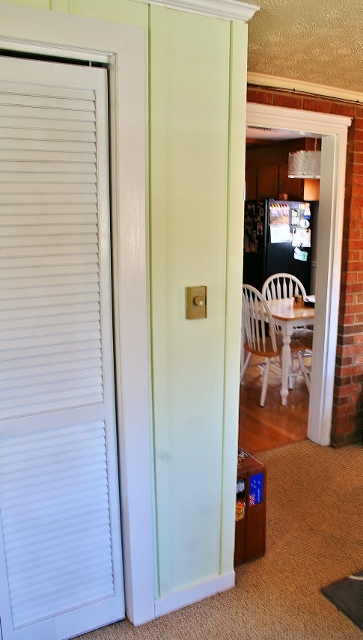
You got a little sneak peek of an artwork piece that I was working on last week, with my heart artwork post. And you didn’t even know that way back at Christmastime, you were also getting a sneak peek (okay, I didn’t know at that time either) with my reindeer glitter art. I have taken those two pieces of artwork and two others and made my first mini-gallery wall. Gallery walls are everywhere these days, coming in all shapes, sizes, colors, and combinations. I have my eye on various places in the house to make a few more, but I decided to start on a small scale with one narrow strip of wall in the Mego Cave.
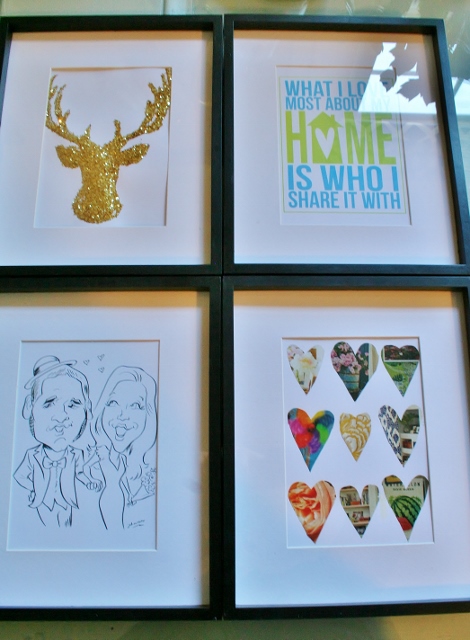
This narrow strip of wall didn’t leave much room for large artwork or other installations. But when I made that glitter reindeer at Christmas, I knew he couldn’t only come out at Christmas. Every house needs a deer head, right? Well, only in my house it needed to be fake and glittery. I realized that the frame size fit perfectly in the narrow wall. With it being a $3 frame at Wal-Mart and a modern shape that I really like, I went back and picked up three more. Now, I just had to figure out how to fill them up! One was my glitter reindeer, another was the heart artwork, and I decided that a third would be the wedding caricature that Eric and I had done for our wedding RSVP card and the fourth would be a fun printable that I found. Here they are, waiting for their new home on the wall.
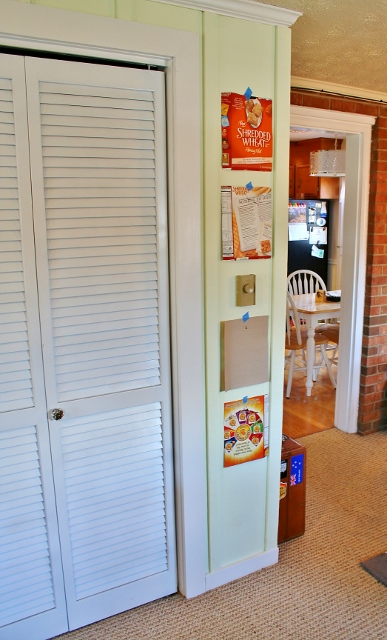
Sometimes I can get a little lazy when I hang pictures, eyeballing and not measuring. With a gallery wall I understood the need for symmetry and accuracy. So I rigged up a few placeholders to make sure I got all four lined up perfectly. First, I cut out templates from some old cereal boxes (Don’t you love when you can use items that are on their way to be recycled? That means these were cereal boxes, templates, and still on their way to be recycled)! I just traced around the frames on the boxes, cut them out, and marked a triangle where the hanger was on the back of the frame. Then I measured on the wall, deciding how spaced out I wanted to frames to be and making sure I got them centered.
Once I had them in the right place, I just put a nail through the triangle on the template. Once the nail was in, I pulled off the template and the pictures were ready to be hung.
I love the grouping! I wanted this little gallery wall to have handmade or really personal items on it, which I definitely think I succeeded at. The great thing about gallery walls is that if you ever get tired of what is in the frames, you can quickly change out what is inside each frame and get a completely new look. So this is how it will look for now, but you never know what switch-a-roos could happen in the future. Right now you can find me fondly staring at my new artwork!


I love the hear artwork. I think it’s perfect for my room if I’m gonna make one.
Do you think different fabric colors will do?
Danyelle Franciosa – Brisbane Bi-fold Doors
I think fabric would be great! You can definitely have fun with colors and patterns! Good luck!
yay,, sorry for the typo Megan
Anyway, thanks!
[…] Hung large scale map, custom framing using a floating frame, fabric artwork, mini-gallery wall with custom heart […]