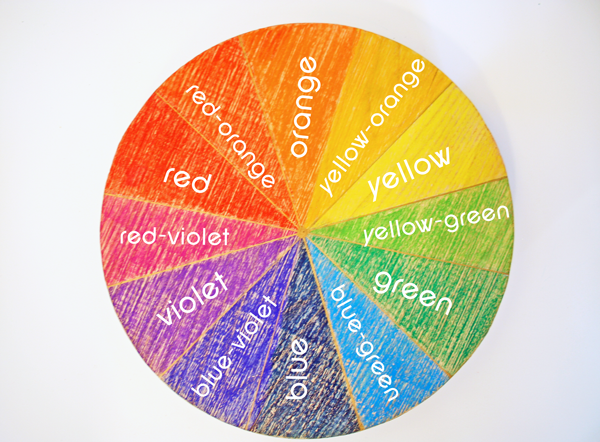
Do you understand the color wheel? The wheel in which all of our colors are based upon? The little wheel that can explain how to pair the perfect colors together?
Honestly, it can be a quite mind boggling, so I decided to break it down over at Teal & Lime to help us understand exactly how the color wheel works. I promise you’ll feel better after reading the post since its quite complementary. 😉 That’s right, a color wheel joke.

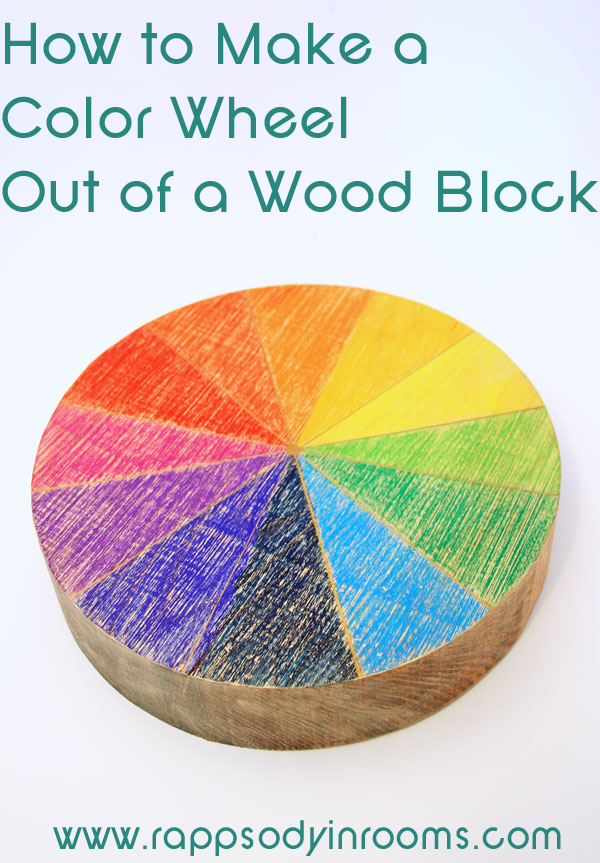
Now you may notice in that picture that my color wheel has some texture and wood grain to it. That’s because it is a color wheel made out of a block of wood. Here’s how I made a color wheel from a wood block.

Step One:
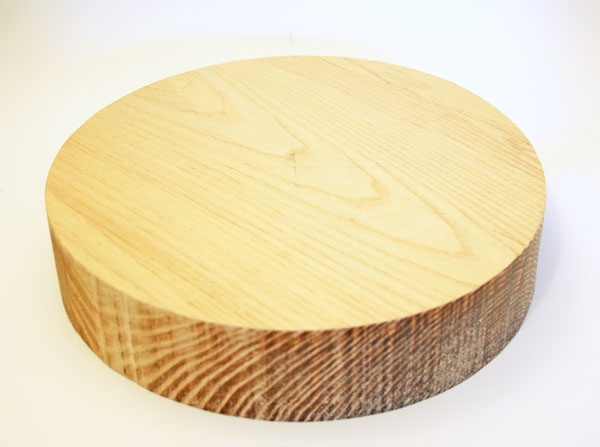
Find your hunk of wood. I can’t really take credit for this since my boss had some scrap wood lying around and kindly cut me a nice circle of wood. However, I do recommend using a piece of wood from a hardware store since wood from nature has not cured yet so it will crack and flake. It all depends on how long you want the wheel to last.
However, buying a round wood plank from a craft store or even a wooden charger would work just as well. You just need something round.

Step Two:
Sand your wood block smooth on the sides and top. I rubbed some Minwax Dark Walnut stain around the outside to give it some depth.

Step Three:
Identify the middle of your wood block. That has generally already been marked to make your circle. Then divide the circle in 12 equally sized slices. I did this by dividing it in half and then into quarters. Then, each of those quarters needs to be divided into three equal sections.
Honestly, a little measuring and eyeballing can get this done quick. I wasn’t looking for absolute perfection because that type of math didn’t seem worthwhile to me. You know, still trying to prove that I won’t need geometry in real life (so not true for a DIYer).
Also, I used very faint lines so it’s pretty hard to see. Squint hard.

Step Four:
Pull up a color wheel on Google Images. You will use this to base your color wheel on. I then took my colored pencils and picked out the shades that matched each section of the wheel. Then, you just color straight on the wood. Yes, it’s that easy. Just color your wheel.


Step Five:
I can’t help but bling things up a little. To add a little glitz and definition to the top of the wheel I drew gold Sharpie lines to divide the colors. Then, to add a little sheen to the outside of the wheel I, took a metallic rose colored craft paint and rubbed into the stained area. Now it has depth and sheen!


Now you have a beautiful wood color wheel. Check out how to use the colors to your advantage over at Teal & Lime.
You can also use this as beautiful decoration in your home. It can be a giant coaster, a plant stand, artwork, an added layer on a side table…the options are endless! Would you ever use a giant color wheel as decoration for your home? Have you ever made any project decisions using a color wheel?


Megan, I love it so much. I love that it is so thick. I would totally use this as an accessory. It reminds me of accessories Pottery Barn sells. I think it would be awesome on a coffee table. Thanks so much for sharing your color expertise over on Teal & Lime!
Thank you, Jackie! I especially love the chunkiness too, which is why I kept beautifying it with stain and a little shimmery paint. It’s been fun playing with it in different places around the house. I’ll have to go try it on the coffee table now!
This would look great on one of your shelves on display. It also would look pretty on your porch!
Ohh I should definitely try it on the porch! That’s a great idea! Thanks Paula!