Happy Monday everyone! I hope you all had a wonderful weekend! Mine was glorious with Goldilocks weather, a little clothes shopping, and some outdoor fun. I call it a win!
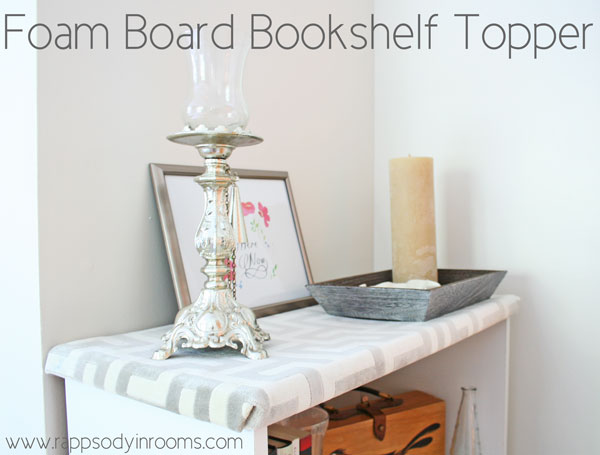
Last week I shared my bookshelf styling makeover with mementos in our guest room (getting it ready for a visit from family soon!). You saw the foam board bookshelf topper that I made, and I wanted to share with you how I made it. It was so easy and made from things that I had in the house already (part of my challenge to myself in redoing the bookshelf).
Let’s remind ourselves what the final product looked like:

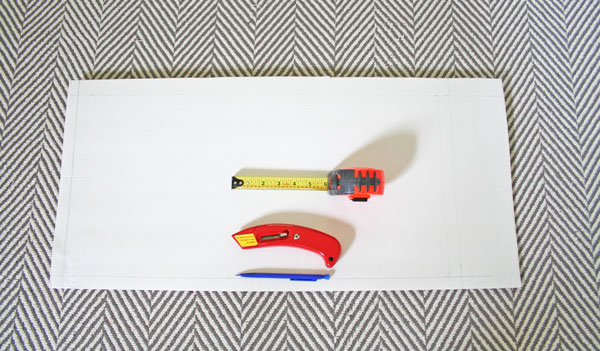
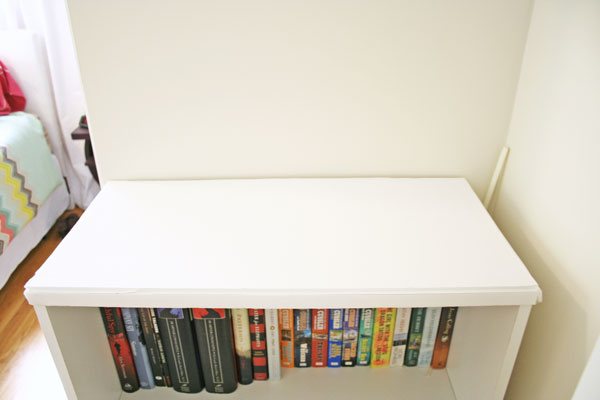
To get started I measured the length, width, and depth of the bookshelf top. Then I decided I wanted an inch lip all away around the bookshelf. I took these measurements and drew it all out on the foam board.

Then I cut the large piece of foam board and scored the lines I drew for the lip. The great thing about using foam board is that you can cut it half way and still have a layer of paper holding the whole piece together. That piece of paper also allows the board to bend and provide that lip.
Dry fit it to make sure your measurements were correct.

Then find a pretty fabric and wrap it around the foam board. Use your handy-dandy duct tape to tape it underneath. Duct tape really does wonders, doesn’t it?

Pop it on your bookcase and you’re done (except for styling)!


It’s such a fun pop of pattern and color to the bookshelf! It is also a little luxurious because it is velour. I like to walk into the room and rub it. Maybe it’s like my lucky Buddha except it’s my lucky fabric?
Post Shared Here:


I like the thickness and texture that your topper gives to your shelf. Using the fabric adds interest and makes your accessories pop.
Thank you Paula! I was trying to give it a classier look for a cheaper bookcase.