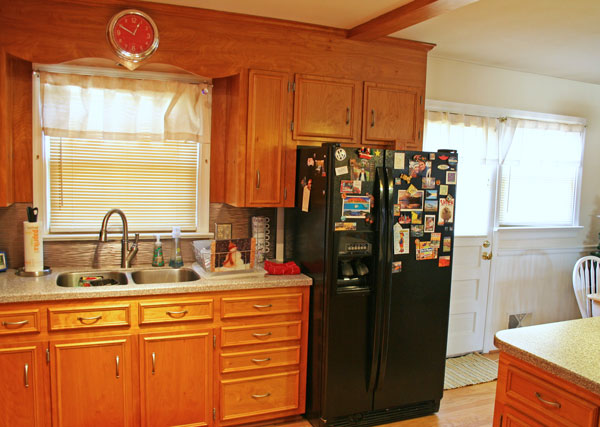
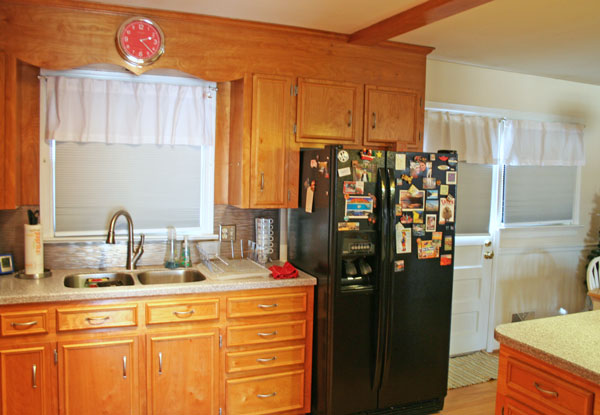
For years we lived behind old, yellowed, cracking plastic slatted blinds. They were in rough shape to say the least. Heck, half of them couldn’t even open. [My apologies to all of our guests with that one wonky shade that couldn’t open. We feel ya, our bathroom one was the same.]

We decided to have our house grow up a little bit in the blinds area. Instead of just replacing some of the very broken ones, we decided to replace them all (except the mini-blind Roman Shades in the Mego Cave). However, narrowing in on the type of blinds we were going to buy took some time. After much consideration we narrowed it down to cellular shades and faux wooden blinds (the wide plank ones).
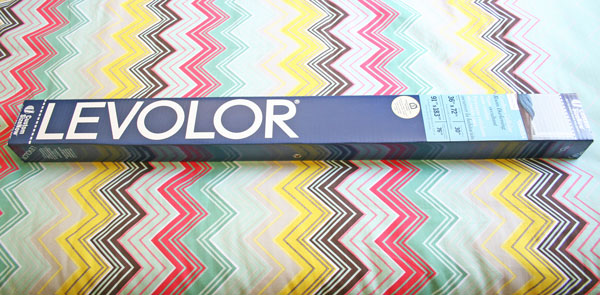
To further help our decision making I would inspect everyone’s shades in their house when I visited. I would go up to them, feel them, peer at them, and then I would ask lots of questions as to their durability, aesthetics, cleanliness, etc. I was kind of obnoxious in my research I now realize. After months (yes, months!) of waffling we decided to make a decision: cellular shades it was! To be specific, we picked Levolor Cellular Blackout Shades in Snow from Lowe’s.


I thought it might be helpful to give you the dish on these shades in case you ever find yourself in the same situation. It sure would have helped me (I googled the heck out of cellular shades and faux wood blind shades to find any opinions on them).

Pros:
- Blackout shades: You have never had a good night’s sleep until you’ve slept with blackout shades. As a self-proclaimed light sleeper I have been getting long zzz’s with these. They are awesome!
- Self-Cleaning (or no clean): Because of how you lift them up and down they basically self-clean. Dust doesn’t have as much space to settle on and if it does it basically bounces off when you put them up and down.
- The Look: I love how these look! They create a nice white look when down with their classy accordion folding but basically disappear when up.
- Energy Efficient: This was really the factor that pushed us over the edge on these. If we were going to spend a good amount of money on these shades they might as well work for us too! It is amazing how they trap hot or cool air (depending on the season) in their cell pockets. When you open them you can feel the temperature difference between the front of the shade and behind it.
- Cordless: Cords no more! Goodbye messy strings everywhere.

Cons:
- Blackout shades: Yes, I meant to put this on both lists. At first I was a little leery when I put up the first batch of shades (we bought one room at a time each pay check to help lessen the blow) our room was DARK when I put them down. Accustomed to having sunlight shine through even the shades I got worried. Then I realized I only keep shades down at night so why does it even matter? But for those of you with close neighbors or in the habit of keeping shades down during the day you can buy ones that are not blackout. There are options for whatever your preference.
- Cordless: I guess it is good that most everything on the con list is also on the pro list. That means there really aren’t that many real cons, right?! I like the cordless but it does require standing on the sofa to put up our bay window shades. Oh well, all the rest of them I can reach. However, we are a tall household so that may be an issue for those shorter individuals.
- A Little Tricky: These shades are a little tricky in putting up and down. Meaning, to put them up you have to press a button. When pulling down you don’t press the button. If you press the button pulling them down you can mess up the internal cording. For us, we’ve got it down but we do have to relay instructions to guests. I’m actually thinking about labeling the blinds discreetly so guests don’t have to really remember when to press the button or not – they can just read and follow the instructions.

Installation Tricks
Installing is easy – once you get the trick of it. The first three windows probably took me almost two hours to do. Then each window after that probably took 5-10 minutes. Really, the hardest part was getting down the ancient shades (so many stripped screws from the former owners).
The directions take you step-by-step. What I found easiest was doing each step on all the windows. So take all the shades down at once. Then mark where you need to drill by using the brackets they give you (I lost my first drill bit in the wall on this one). Then drill your holes and finally screw in your brackets. Pop in your shades and you’re done.

Things I Learned About Cellular Shades
- There is a neat machine that cuts the shades to size. The person will input the window measurements into the computer. However, at this step tell them (if they are inside mount) say the window is 1/8th of an inch larger than it really is. This will give you the tightest fit in the window – in a very good way.
- Make sure to open these boxes outside. There is lots of dust after they have been cut.
- Before you install the shades run your fingernail up and down the edges of the shades to try and break them up a little bit. When the machine cuts them sometimes they can melt together a little bit. This somewhat breaks up the melting. However, when you pull down the shades for the first time do it very slowly. You will have to carefully separate a few of the cells with your fingers. But once they are separated you are good to go from then-on!

In summary I HIGHLY recommend getting cellular shades. I love them more every day! One of the best investments we’ve made in the house to date.
Phew, that’s a lot of words for shades in a house! Hopefully if you are on the hunt for new shades or thinking about changing out shades this will be a helpful post for you. The before and after pictures aren’t that stunning (but in person it is much more dramatic of a change) but it definitely is a whole house changer for this family.
Is it weird that I feel like a real grown-up now that I have (what I call) grown-shades?


Thanks for the write up.
Are you still enjoying your cellular shades.
I am going through the same process of trying decide what type of blinds to purchase.
So dust has not been a problem?
What about dead insects getting trapped in the cells?
I love them!! I definitely recommend them. Dust has not been a problem and I haven’t noticed dead insects in them…but I also never looked for them either! Haha. Good thought though. If it happens they easily pop out and you can just dump those bugs!
Thanks for letting me know that you still recommend them. If I have anymore questions, would it be ok to contact you?
Of course! So glad to help!
My walls are beige colored and window trim is white. White or beige blinds?
My vote is white, to match the window trim. I think they will look seamless that way. Plus, you never know what color of the walls will be later – those change more than trim!
Thanks to sharing very useful information nice article.
They are readily available in the market, easily installed and are definitely easy to manipulate. Even if they are exposed to direct sunlight for long hours, you rest assured that they are durable enough to last a long time. Moreover, you can use Honeycomb Blinds Caroline Springs to totally block out the sun if you so desire.
Double or single cell? What does options 1/2, 3/8, mean?
I got the single cell. The 1/2, 3/8 are size options. Hope this helps!