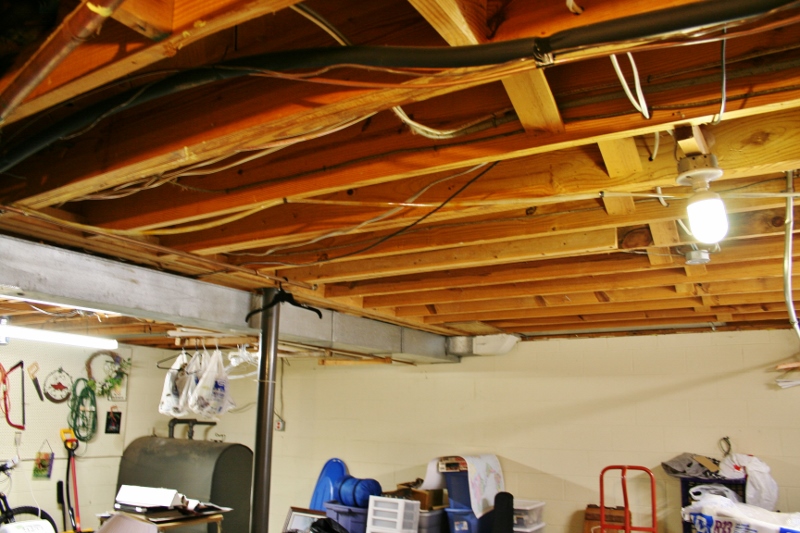
No, it’s not the prettiest project you have ever seen, nor the most exciting. But it might be the warmest (and itchiest). This does just go to show that all home improvement don’t make your house prettier, but instead make it more practical and comfortable to live in. The floor plan of our house has most of our bedrooms and bathrooms over the unfinished part of the basement. In the unfinished basement there is no heating/cooling (although it always stays pretty cool down there all year round) and there is no insulation either.
So all that cool air was just between us and the floorboards. In the summertime, sometimes that was okay, but in the wintertime, let’s just say brrr… We thought it wasn’t the most efficient for our house, so we decided to insulate the ceiling of the basement.
Before we get into the how-to part of this post, let me just say that we have never insulated before and it was easy peezy. Meaning anyone can do it!
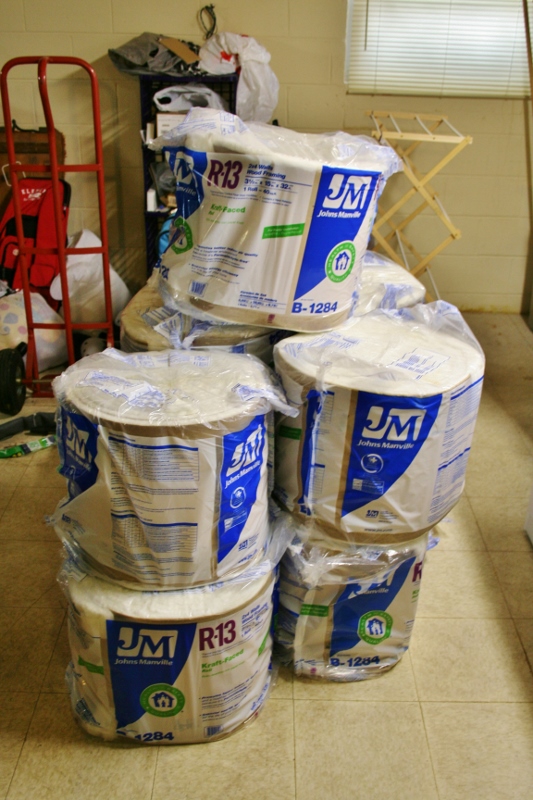
Step #1. Figure out what type/rating of insulation you need. I’m no expert, so I would go talk to the pros at your home improvement store. Ours told us a R-13 would suit for this project. It’s definitely not the highest, but we aren’t buffering from outside weather. Also, before you take a trip to the store, make sure to measure the area that you are insulating. We just figured out the length, since most houses already have the standard width of insulation rolls.
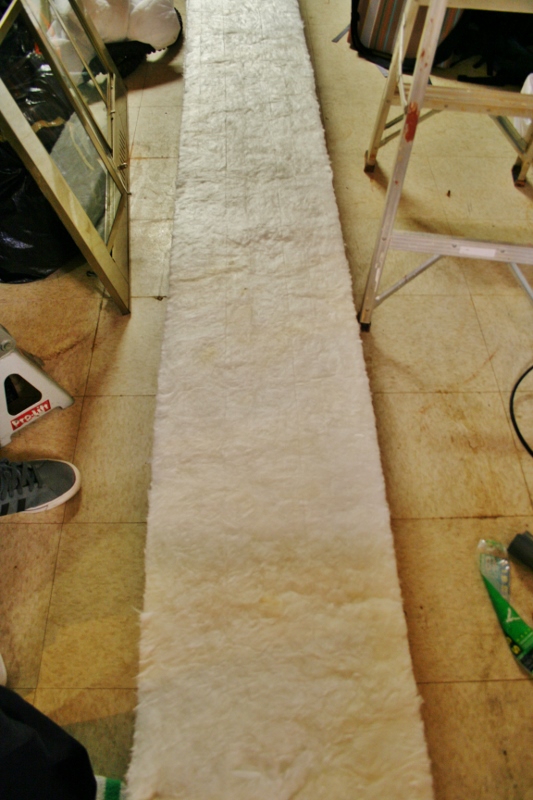
Step #2. Cut the insulation into manageable strips. The way our basement is laid out, it made sense to do it in halves, working one half and then the other. We found the easiest way to cut was to just roll it out on the floor and then use a box cutter or big pair of scissors to cut it. Also, since this stuff can just make you get itchy all around, it’s best to wear gloves, glasses, a mask, and a hat.
Step #3. Staple it into the cavity between the boards. It helps to have one person up on a step ladder, stuffing and stapling, while the other person feeds it to them. We just used a regular staple gun and stapled it to the boards. The insulation has a paper flap that you just flip out and use it to secure it in the ceiling.
Step #4. Keep going. It is a lot of measuring, stuffing, and stapling. It’s not hard, it just is a lot of neck-cricking work. It’s awkward, but it does go fairly quickly. And it really is that easy. That’s it!
We already feel the difference in the house. It’s not the most dramatic change, with temperatures suddenly sky rocketing 5-10 degrees in the house, but it helps. You feel it under your feet in the bedrooms. It also provides a sound barrier, which is great for us since the washer, dryer, and de-humidifier are all down there and run at all hours of the day. So there it is, a useful project around the house. I even think it makes the basement look better, although I wouldn’t quite go with pretty…
PS – Can’t you see why I put organizing the basement on my 2013 goals list? Well that’s real life ladies and gentlemen. AND that’s real life for an organized freak like me. Let’s just say the rest of the house has taken priority these past three years.


[…] Insulated the ceiling […]