Let me start by saying that painting a ceiling is probably my least favorite thing on the list of all things DIY.
So much so that when we started looking up at our ceilings that are in need of major touchups, I had the idea of paying someone probably a couple thousand dollars to do it for me.
However, I knew I could tackle the bathroom ceilings. Those smooth ceilings and the room’s small footprint didn’t scare this girl.
So I did it. It one afternoon. It was actually easy.
Then this little thing called empowerment kicked in.
One ceiling done and awakened the voice in me that said, “You can do it, even the textured ceilings!” Because that’s all you really need is empowerment. The information on how to do something is always out there. It’s just believing in yourself enough to know that you can do it.
So I now know I can do it. How long is it going to take me? Probably a very long time. Thankfully, there aren’t gaping holes or major stains on the ceiling that make it essential to paint the ceiling. There are just those spots here and there that need to get it done.
So just remember this, start small, build your empowerment, and you can do it!
How did I do it? Lemme show you how!

How to Paint a Bathroom Ceiling
- Clear out the bathroom so you don’t get paint droplets on anything. Thankfully it is generally easy to wipe down drips off counters, sinks, and floors so those can stay.
- Clean the ceiling. Just give it a nice wipe down so you don’t paint dust into the ceiling. That’s a big yuck-o.
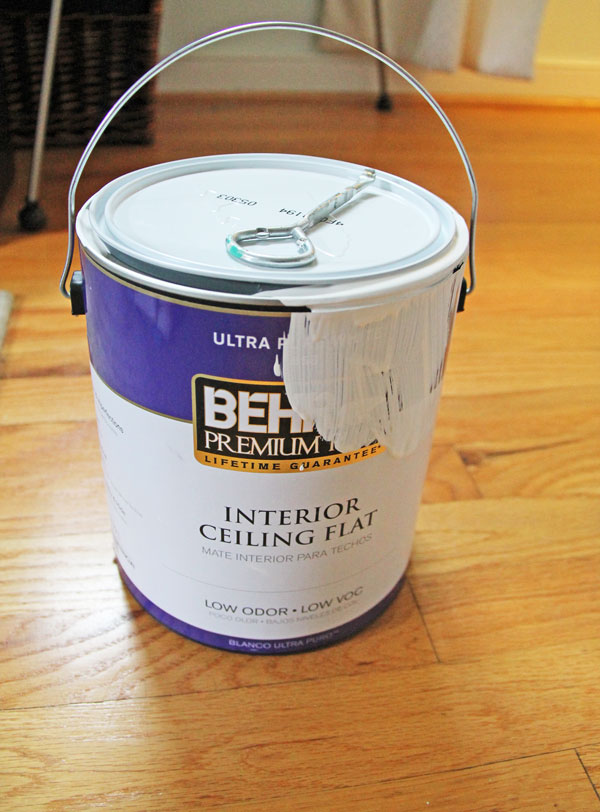
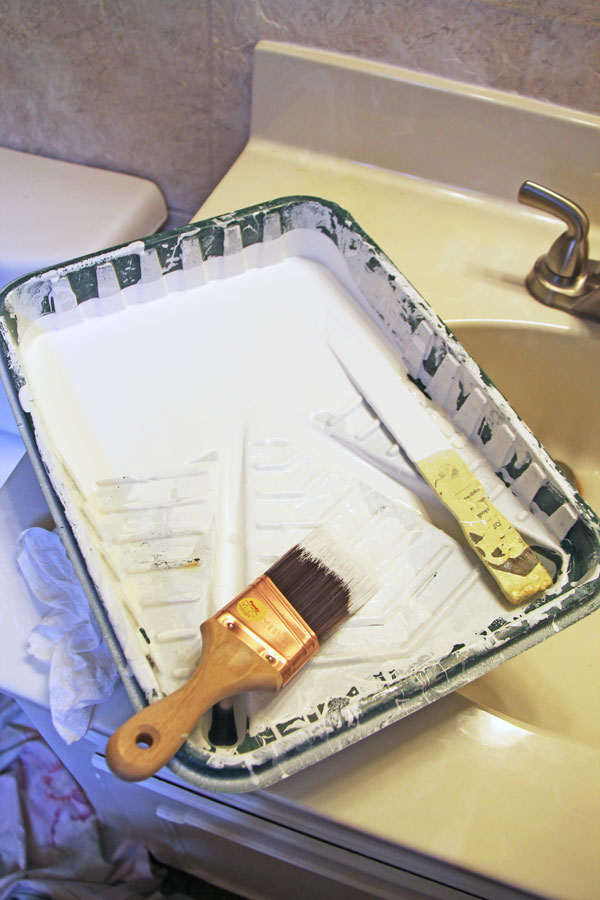
- Gather your supplies. I needed a step ladder, drop cloth, paint tray, metal paint can opener, short handled angled brush, roller, and I used Behr Flat Interior Ceiling Paint in the white from the can.

- Cut in. I used a short handled angled brush. You can also use an edger.


- Roll with the appropriate nap.

- I always make sure to give it two coats. Since I hate prep work my biggest nightmare would be to take a shortcut on the painting, put everything bank in the room, stand back to look at my work and see streaky paint that could have been avoided with just one more coat. So I always do two coats.
There you go! Painting a bathroom ceiling complete! On to the rest (eventually)…

Are there any projects that you were this close to calling in the pros to do and then found it within yourself to do? I’d love to hear about your own empowerment story!
Click here to watch a video on how to paint a bathroom ceiling!


I know you were thrilled to finish this in only one afternoon. You are a neat painter; I never would have been able to do this without taping the walls.
I’m looking forward to seeing what else you do in this room.
I was SO thrilled Paula! Hopefully now I can get moving on the other ceilings. But first, lots of painting for this room!
i need to paint my ceiling in my kitchen and dining room and i am putting it off big time. UGH. now that you are a pro maybe you want to do it? 😉
Haha! Well, I’m not sure I’m a pro! And by the time I paint all the ceilings in my house I may never lift a paint brush again. But I can be your cheerleader! You can do it!!!!!!! We could do a blogger ceiling paint challenge! Hah! (But I’m kind of serious…it’s all about motivation!)
A few of things. First: Good job. I’ve been painting rooms for years and years and when it comes to the bathroom, if the shower or bath is used frequently, the ceiling and walls should always be given a good scrub with TSP and then a good rinse. Also, if it is used frequently..wouldn’t an eggshell sheen be a better paint to use. If it’s the guest bath, no shower or steam activity, then flat sheen is OK.
Love your blog..keep those projects coming.
Thanks so much for the comment and great ideas! I’ve never used TSP. I will look into it. Thanks! I also didn’t know that the sheen mattered based for the humidity level. I’ll also look into that! Thanks for all the suggestions!